
 Print This Post
I’m Marie from Underground Crafter and I’m continuing a series about taking your crochet skills up a notch! We can always learn something new to improve our crochet skills, whether we’ve been crocheting for a week or years. You can read the first post in the series, Learning to Read Crochet Patterns, here.
In today’s post, I’m sharing a tutorial for weaving in yarn tails to finish your project.
Why should you weave in yarn tails?
There are many ways to finish crochet projects, including tying knots at the end of your work and using your crochet hook to draw up excess yarn bits onto the back of your project. But weaving in yarn tails with a needle has several advantages over these other techniques.
- Weaving in ends is the least visible of all the methods, so it makes your work look more polished and finished.
- Weaving in ends makes your projects more durable. Knots can untie in the wash or from frequent use, allowing your work to unravel or presenting a hazard to infants or pets.
In addition to those reasons, weaving in yarn tails is pretty easy!
To weave in your yarn tails, you’ll need a yarn needle, tapestry needle, or hand sewing needle with a large eye.
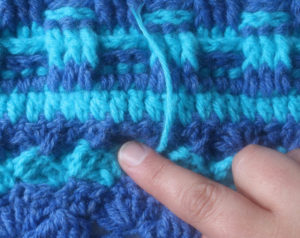
In the example below, I’m weaving in a yarn tail made in the middle of the row when I changed yarn.
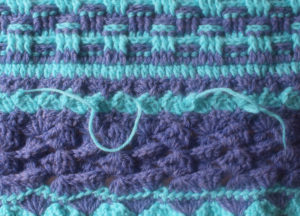
You can use the same technique for weaving in ends at the beginning and end of a project.
Use the yarn tail you want to weave in to thread the yarn needle. For best results, leave about five inches (13 centimeters) of excess yarn tail at the beginning and end of every project to weave in.

Leave an inch or two of slack yarn through the needle’s eye. This will allow you to keep using the same piece of yarn without constantly rethreading your needle.
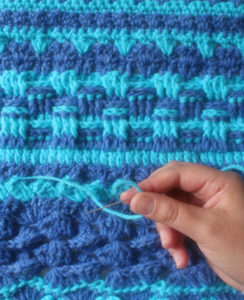
Insert your needle between several loops, following the path your crochet hook took. For best results, you should not be able to view the part of the needle that is inside of the loops from either side of your finished project.

Carefully pull the needle out of your crochet project to draw the excess yarn through the loops.
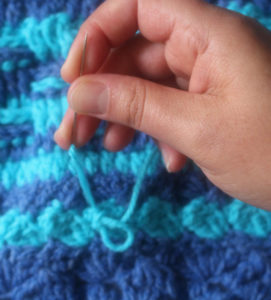
Repeat this process until it becomes difficult to maneuver your tapestry needle. This should allow you to weave in about three inches (7.5 centimeters) of yarn. For the least visible results, weave yarn tails into the same color yarn.
When you’re ready to fasten off, gently tug on the yarn tail at the point where it is closest to the crochet piece. Cut the thread carefully so you don’t damage your work. After cutting, the yarn should disappear into your work.
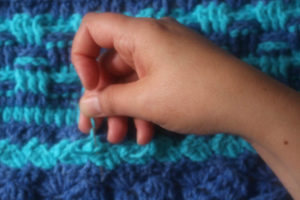
As you can see from this picture, you can’t see the yarn that has been woven in (in the shell to the left of my finger).
By the way, if you’d like to try out the pattern I’m working on in this post, it’s the free Wonder Crochet Blanket.
Have you tried weaving in ends yet? Do you have any tips to share?
Print This Post